I’ve been wanting to do this post for awhile, since so many of you ask me about how to organize materials – both behind-the-scenes and in your classrooms. I’m going to share some of my favorite ways of organizing and storing materials, and hopefully you’ll come away with some new ideas (and of course, share your own!)
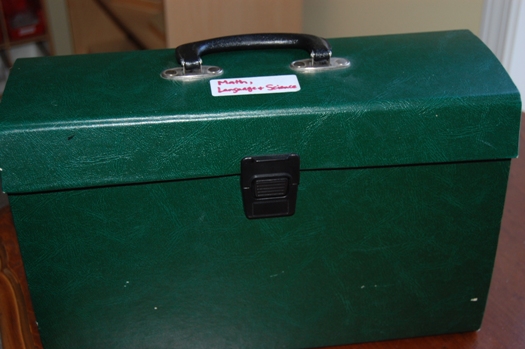
One thing that has been a lifesaver to me is expandable accordion files. These are available at any office supplies store in the filing section, and comfortably hold 8 1/2 x 11 in. size paper or cardstock.
I have three; the first is for Math, Language, and Science:
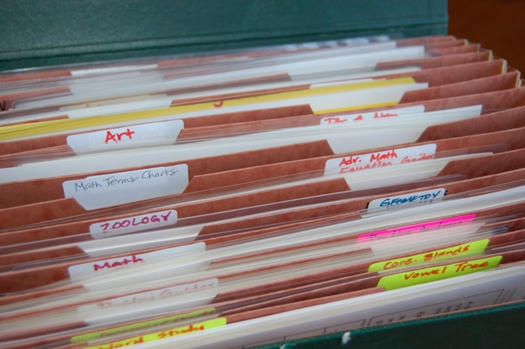
Inside, I’ve labeled the tabs for various materials; these are great for worksheets, memorabilia (like brochures and postcards from historic places), and any size chart or other material that fits:
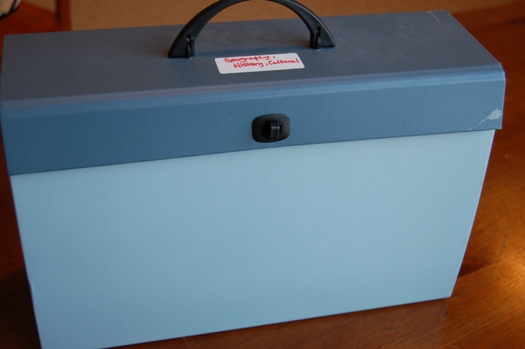
Another one is for Geography, History, and Cultural:
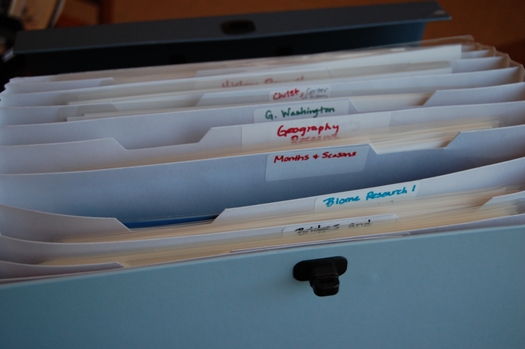
This one is perfect for continent maps and research guides:
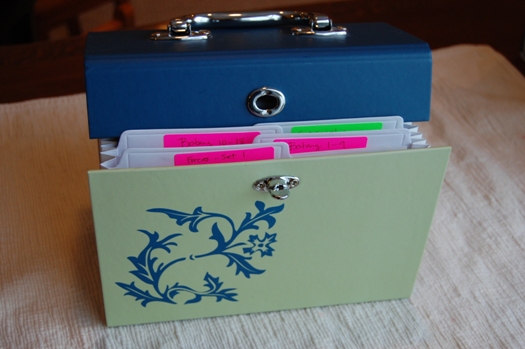
I was delighted to find a “half-size” expandable file at Staples:
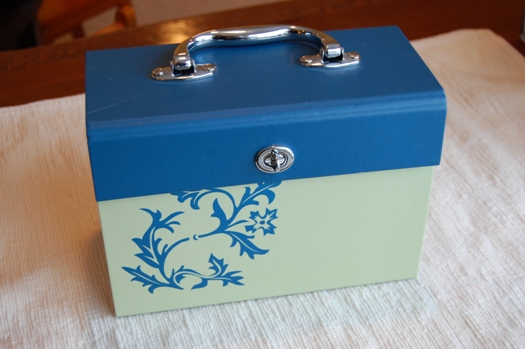
This one holds the experiments and explanations for the Geography Impressionistic Charts, Botany Impressionistic Charts, and Forces Set 1 (all of which are printed two-to-a-page on 8 1/2 x 11 cardstock, so after cutting the page in half they fit in this perfectly):
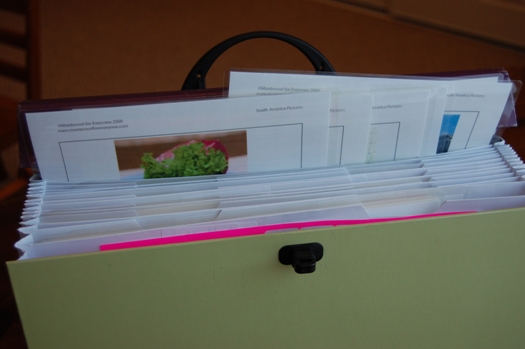
Getting back to the regular-sized accordion files for a minute – I use one to hold uncut 8 1/2 x 11 sheets of laminated materials (that’s the size my laminator uses). That way if I have a spare 15 minutes (it does happen!) I can pull out just one work and cut it apart quickly (here you can see the tops of the South America Pictures, which I need to cut apart):
Some of the materials I make, like Types of Snow, come with a full-page chart related to the topic. I don’t have room on the shelf for all these, so I keep them in the expandable files and only pull the chart out if one of my children is doing the work. Here’s the Snow chart:
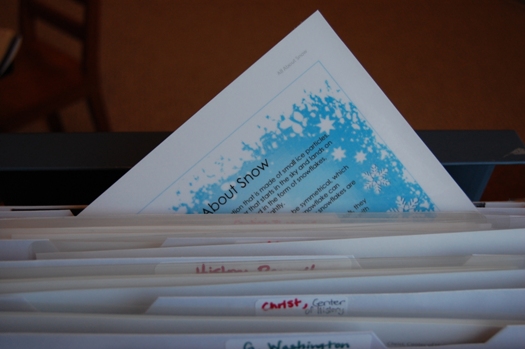
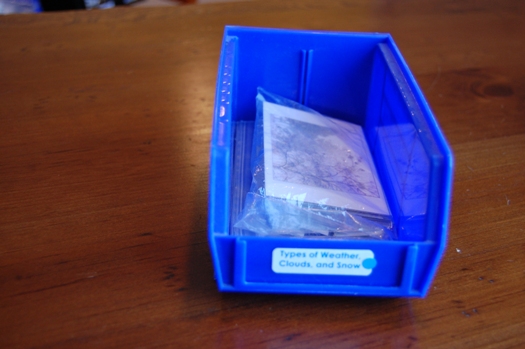
And here’s how I store Types of Snow; the little blue sticker reminds me that there’s a chart to go with it. The blue container is an Akro bin; I find those super helpful for storing cards on the shelf:
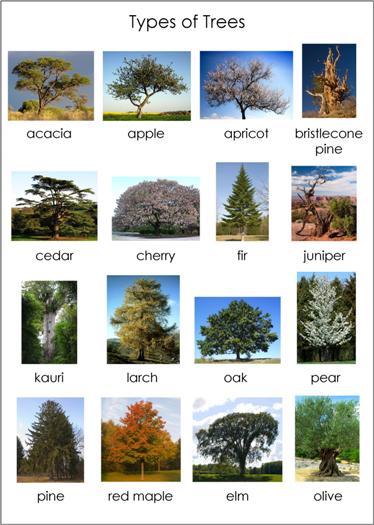
Now it’s time to share a little secret with you (shh!). Many of the items I make come with full-page control charts, especially the nomenclature cards from botany and zoology. They look like this one from Types of Trees, and are very lovely:
However, I personally prefer to keep all the parts of a material together whenever I can, and the full-page charts don’t fit in small containers. So, I cut the control charts apart (I know!), punch holes in the corners of the cards, put a ring in them, and keep them with the nomenclature cards. Here’s Types of Trees, with the control chart cut apart (it’s got a little ring in the left-hand corner holding it together):
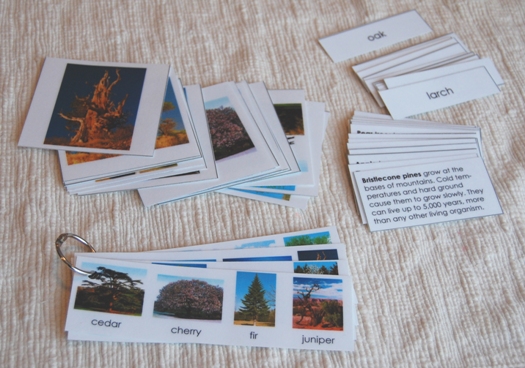
I know that wouldn’t work for everyone, but it does for me! I also make ringed booklets of control cards, too, if there’s no control chart to cut apart.
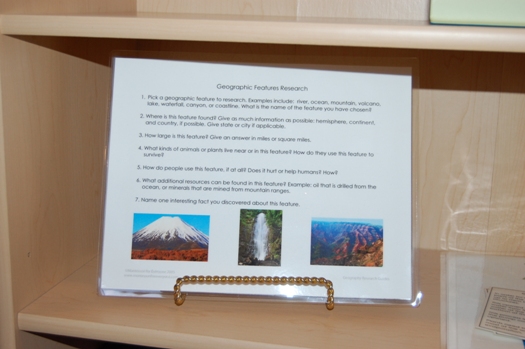
For displaying things on a shelf that can’t be cut apart, I use stands found in craft stores; here’s an example of a research guide on a stand:
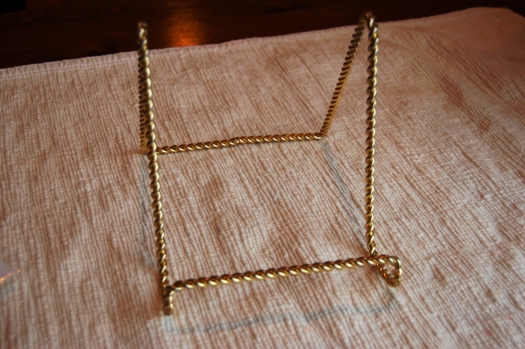
And here’s the stand by itself; they come in different sizes and there are wooden ones as well:
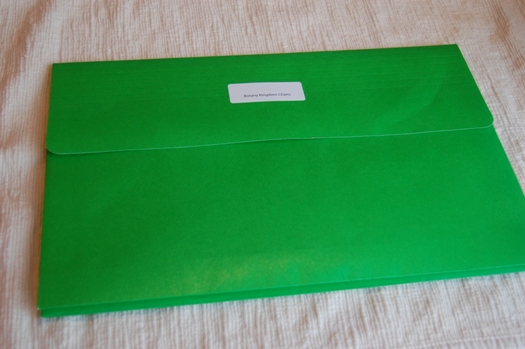
For larger charts (Plant Kingdom, Animal Kingdom, Six Kingdom, and Fundamental Needs), I like the large envelopes you can buy at office supply stores for legal size paper (9 x 14 in.). Here’s my Plant Kingdom Chart Set:
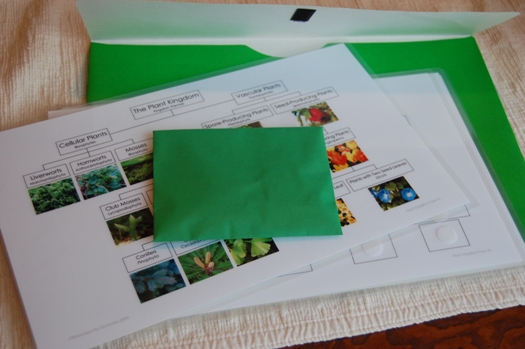
And the charts; I’ve added Velcro to the blank charts (and the corresponding pieces), and the Plant Nomenclature Cards are in the smaller green envelope:
I’ve mentioned before that my favorite way of storing nomenclature cards and other card material is to label them in individual baggies, then put them in plastic shoeboxes. (This is just for me in my storage closet; on the shelf I use containers to display each card set separately):

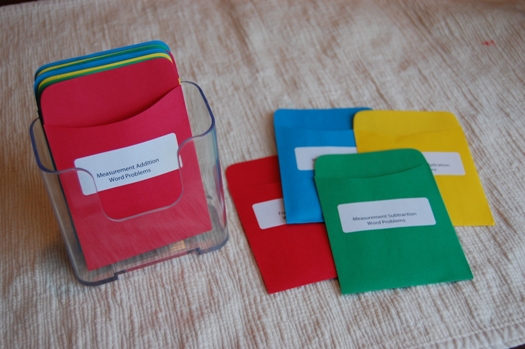
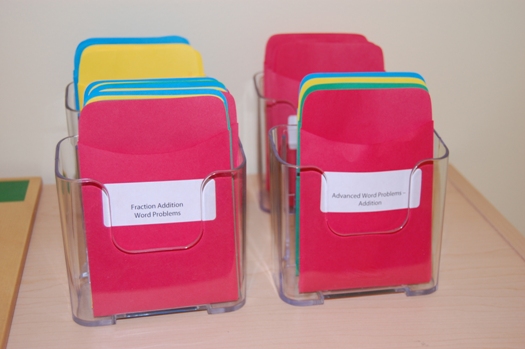
One last favorite combo: brochure holders and library pockets. I’ve mentioned these before (see the post here), but they’re so helpful I’m going to mention them again. I buy library pockets online or at teacher stores, print labels for them, and store math equations and geometry card sets in them. I love them and they save so much room!
Well, I think that’s enough for now! I’ve posted all these pictures on Facebook in a photo album (there were some extra ones I didn’t put in the blog post). You can find those at my Montessori for Everyone Facebook page. Click “Photos” if you don’t see it right away.
If you have other great ideas for storing materials, please share!

