Montessori materials take up a lot of room – that’s a fact. Shelf space always seems to be in short supply, no matter how many shelves you have.
One way to fit more materials on a shelf is to use a cabinet (sometimes called a “tower”) with small drawers. Just like a skyscraper, cabinets make use of vertical space rather than horizontal.
While cabinets can be a great way to organize materials, it’s important not to overuse them. One of the major drawbacks is that the work is not visible to the child while it’s in the cabinet. A shelf full of multi-drawer cabinets isn’t very appealing.
However, when used correctly, they can be a great way to keep materials straight. I always have a few in my classroom, so I’ll show you some examples.
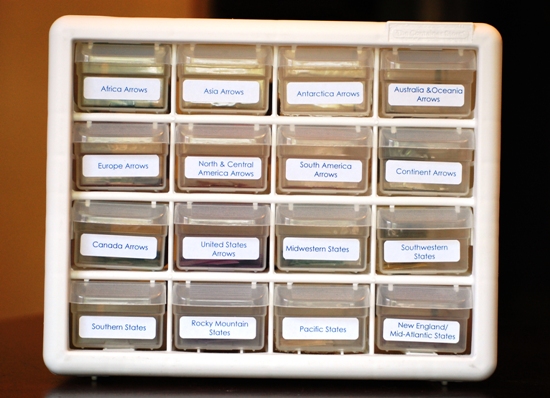
This is my geography cabinet, with drawers for each set of map arrows (found in my Continent Kits), as well as drawers for States and Capitals Matching Cards, organized by region:

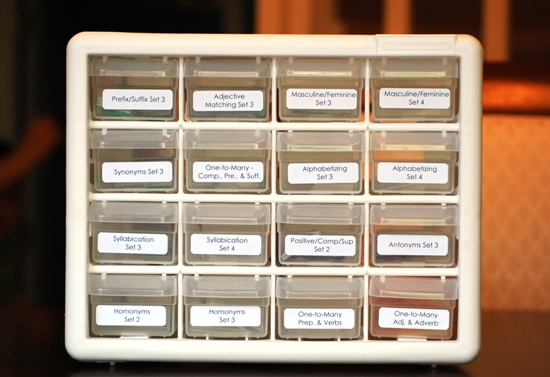
This is one of my language cabinets; I call it “Word Study 3”. My son used the “Word Study 1” cabinet in first grade, “Word Study 2” in second, and so on:

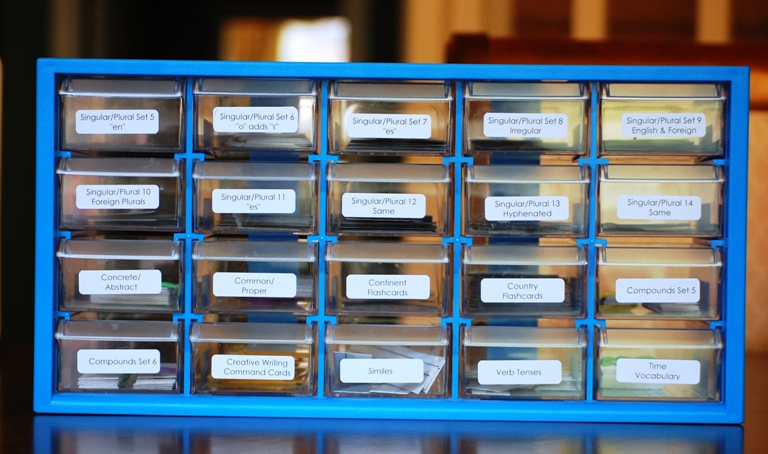
Here is another language cabinet, this time focused on Singular/Plural sets as well as some flashcards and matching cards:

You may have some questions about using the cabinets, so let’s take a closer look.
1. Where can I find them?
I found the two white ones at the Container Store, and the blue one was purchased as an art cabinet filled with craft materials. After my kids used up the art stuff, I thought it would make a great language cabinet.
I’ve also seen cabinets like these at hardware and home improvement stores, and even at Target in the automotive/home repair section. Of course, you can find them online as well (search for “multi-drawer cabinets”).
2. How do I label them?
The best way to label them is to print the names of the materials on self-adhesive address labels. I like the return address size, as they are small enough to fit right on the cabinet without cutting or bending. But, if you only have regular size labels, they can be cut or have the edges wrapped around the sides of the drawer front.
You may have to experiment with font sizes to make sure the names will fit on the labels. I like to use the Century Gothic font, since that’s what most of my materials use.
3. How can I best use them in the classroom?
Place cabinets where children can access all the drawers. Since the materials are not visible, you may want to have a tray or basket next to the cabinet where you display one of the materials from the cabinet (rotate every month).
If you’re teaching elementary, be sure to include cabinet materials on the workplan. If children show an interest in the materials, let them work on them as often as they like. For instance, some children will start with one word study set (compounds, homonyms) and continue until they’ve finished all the sets for that type of word.
Generally, children should take the entire drawer with the to the rug or table. Most drawers come out easily if you tilt them up, or gently squeeze the sides of the drawer together. You can show the children how to do that when you show them materials from the cabinet.
4. What can I put in them?
Multi-drawer cabinets are traditionally used for word study materials, but I’ve found that they work for other materials as well, like the map arrows pictured above. Some of them have bigger drawers that can accommodate matching cards and flashcards. Here are a few other suggestions:
A. Label one drawer for each letter of the alphabet and place small objects in the drawers that correspond with each letter
B. Pink, Blue, and Green Series work – include rhyming cards, pictures for movable alphabet, and even small objects
C. Math work, like equations and word problem cards, can easily be put in a cabinet. Just label each drawer to show the type of equation or word problem featured
I’m sure many of you have great ideas for using these in the classroom, so feel free to share!

