A few years ago, I spent some time putting together a box for each of the seven continents. As you can imagine, I used card materials from my continent and country kits, but I also bought books, objects, and memorabilia to make each box special.
I think boxes like these are a great way to organize geography materials, and make it fun and easy to study each continent. Since many of you have asked me how I put the boxes together, I’ve taken pictures of all my boxes and their contents to give you some ideas.
(To see all my continent box pictures, full size, please visit my Montessori for Everyone Facebook page!)
1. The Boxes
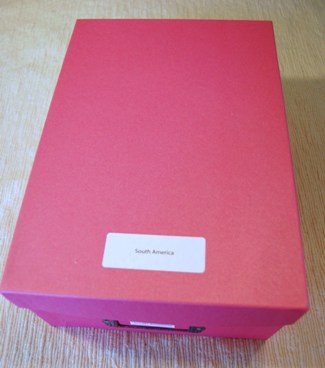
 I decided to use photo shoe boxes for my continent boxes. I found one to match each continent color (according to the traditional Montessori continent colors) except for yellow (Asia). My Asia kit resides in a blue box. If you ever see a yellow photo box for sale online, let me know!
I printed two labels for each box, with the name of the continent on it. One to go on the front of the box (most photo boxes have little metal label holders) and one to go on the lid of the box.
I keep the boxes stacked on the lower level of my map cabinet, so that they are readily available when we use the wooden puzzle maps. An atlas and globe are also nice to have nearby.
2. Organizing Card Materials
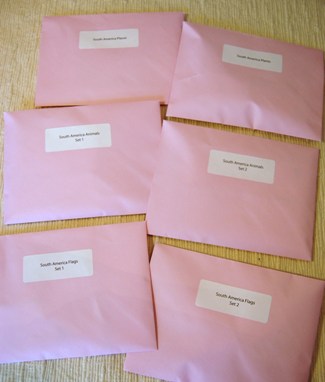
 I like to put the card sets in envelopes that match the color of the continent. I print labels to go on the front of these as well. When the sets are large (like Asia flags), I divide them into two or more sets. I use the continent materials primarily in elementary, not primary, so I make the flags/places/animals/plants as 2-part cards, not 3-part.
For 2-part cards, I print only one set of the cards, the ones with the line in between the picture and label. I cut the cards apart, and then put colored sticker dots on the backs to color-code them.
When my kids use the cards, they match them as best they can, then turn them over to check (or to figure out any that they didn’t know on sight). I find this works well for elementary; using the control cards just makes it too easy. You could print the control cards and make them into a book, if you wanted. The children could get the control book after matching the cards to check their work.
3. Adding Books to the Boxes
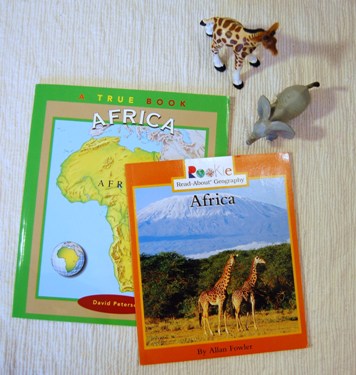
 I was delighted to find two different series of books that have one book for each continent. You can find them at Amazon, Barnes and Noble, or used on eBay. They are:
True Books – Continents by David Petersen
Rookie Read-About Geography Books by Allan Fowler
What I like about both types of books is that they are small enough to fit inside the photo boxes, and they give nice overviews of each continent. They are a starting point, naturally; most kids will want to do further research after reading these books, in which case a trip to the library is probably in order.
4. Adding Objects and Memorabilia
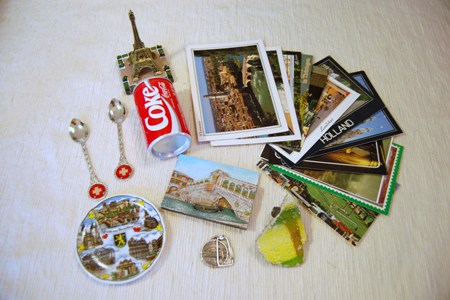
 It’s a longtime tradition in Montessori to add objects to geography studies. They stimulate a child’s interest and imagination. It can be hard to find things from each continent, though. I’ve had success on eBay, particularly, buying inexpensive things like:
stamps
paper money
coins
postcards
bookmarks
stickers
rocks and minerals
CDs of global music (I love the Putamayo World Music CDs)
If you have friends and family who live abroad, or who are traveling, ask them to bring back some small mementos for you. I know of programs where Montessori schools or families in different countries become penpals, in which case you can exchanges items from each country.
There are quality animal figurines available from several manufacturers, including Schleich and Safari Ltd (Google to find sources) so that you can add a few to each continent box.
Larger items, like maps, posters, and flags, can be kept in expandable files or other containers and brought out whenever you study that particular continent.
It’s well worth the time and effort spent to assemble them!

